Step 1: Assess the Damage
Before starting any restoration project, carefully inspect the moulding for damage. Look for cracks, chips, or areas where the moulding has worn away. Take note of the extent of the damage to determine the amount of repair needed.
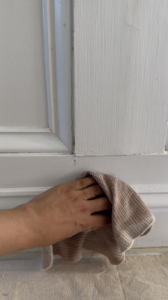
Step 2: Prepare the Surface
Clean the moulding thoroughly to remove any dirt, dust, or debris. Use a mild soap solution and a damp cloth to wipe down the surface. Allow it to dry completely before proceeding.
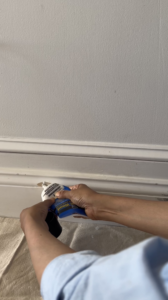
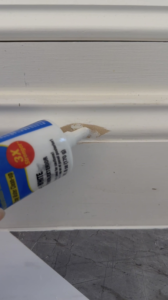
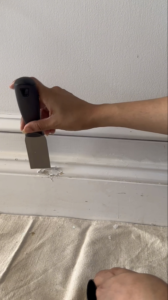
Step 3: Fill in the Gaps with Plastic Wood
Apply a generous amount of plastic wood filler directly into the smaller cracks and gaps in the moulding. Work in small sections, pressing the filler firmly into place with your fingers. Be sure to fill the gaps completely to ensure a seamless finish.
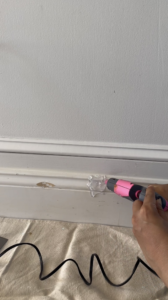
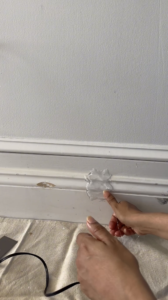
Step 4: Use a Glue Gun for Larger Chips and Gaps
Sometimes using plastic wood filler isn’t enough. I use a glue gun to fill larger gaps and elongated chips as it seals up much better than the wood filler.
Step 5: Smooth the Surface
Once the plastic wood filler and glue has dried, use sandpaper to smooth out any rough or uneven areas. Start with a coarse grit sandpaper to remove excess filler, then switch to a finer grit sandpaper for a smoother finish. Take your time and be careful not to sand away too much filler, as this can result in an uneven surface.
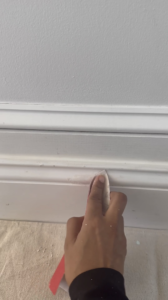
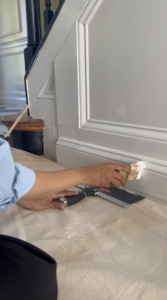
Step 6: Blend the Repair
To ensure a seamless repair, use a utility knife to carefully carve away any excess filler around the edges of the repaired areas. This will help blend the repair into the surrounding moulding for a more natural appearance.
Step 7: Paint or Stain
If necessary, paint or stain the repaired areas to match the existing moulding. Use a paintbrush to apply the paint or stain evenly, taking care to blend it into the surrounding areas for a cohesive look. Allow the paint or stain to dry completely before proceeding.
Step 8: Final Inspection
Once the repair and finishing touches are complete, take a step back and inspect the moulding from different angles to ensure that the repair is seamless and blends in with the rest of the moulding. Make any necessary touch-ups or adjustments as needed.
Restoring moulding using plastic wood and a glue gun is a rewarding DIY project that can breathe new life into your home’s interior. With patience and attention to detail, you can achieve professional-looking results that will enhance the beauty of your space for years to come.