DIY Your Entryway Closet
We wanted to transform this entryway closet into something that would be functional yet aesthetically pleasing. We don’t have a mud room in our home, and always had the problem of kids shoes, bags, jackets being tossed on the floor when they walk in. We converted this closet into a more functional area where we can quickly tuck away our items, and then find them easily when we head out. In order to complete the project, we needed the following tools and items:
• Small shelving unit
• Storage bench
• Fine and course sanding block
• White paint
• Paint sprayer
• Drop cloth
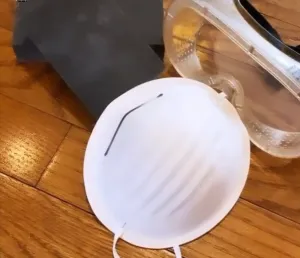
• Mask and goggles
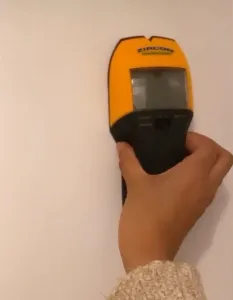
• Stud finder
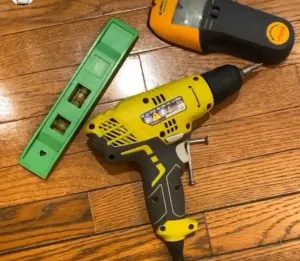
• Drill machine with drill bits
• Screwdriver and screws
• Leveler
Entryway Closet DIY
Step 1
As our closet had a lot of holes due to the previous tenants, our first step was to spackle up and clean up the holes.
Step 2
Once the spackle had dried, I began sanding down the excess spackle with a course sanding block. Once the excess spackle was removed, I finished it off with a fine sanding block and cleaned off the walls with a dry towel. Make sure to use mask and goggle so you’re protected from the dust.
Step 3
Now it was time to paint the closet. I used HomeRight’s Super Finish Max Paint Sprayer, which made the task so much easier! Their paint sprayer was easy to use and even easier to clean, requiring minimal effort on my part. The best part was how much paint we saved, as we sprayed 2 coats and still had 3/4 of a gallon of paint left over. If you do use one, I recommend using a safety mask and goggles so you’re well protected.
Step 4
After the paint dried off, I started to look for the studs for the shelving unit/coat and bag hanger. It’s important to find at least two studs in order to ensure the weight of the shelving unit is supported.
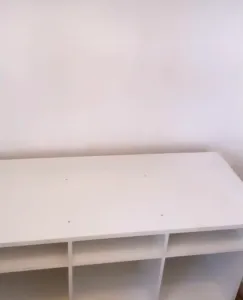
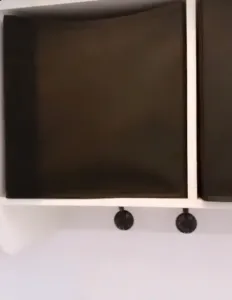
Step 5
Once the studs were found, I drilled holes into the wall and then began mounting the shelving unit. I wanted to make sure I had some wiggle room with the studs in order to ensure the shelving unit was level using the leveler.
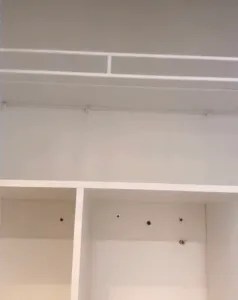
Step 6
I also added a wire shelf above the mounted shelving unit to add more storage space in the closet.
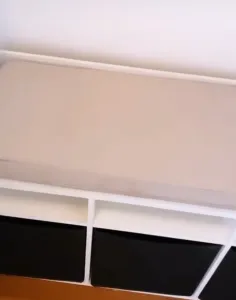
Step 7
On the bottom of the closet, I added a storage bench where the kids could sit and put their shoes on. The cubby holes in the bench added extra space for their shoes.
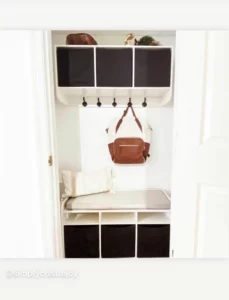
Step 8
Lastly, I placed black storage bins in the cubby holes so we can put all their accessories such as gloves, scarves, hats, sunscreen on the top shelving unit and shoes and boots for the storage bench.
Step 9
Last but not least, I added a bench cushion to make it comfortable for the kids to sit on.
And now the final product!!